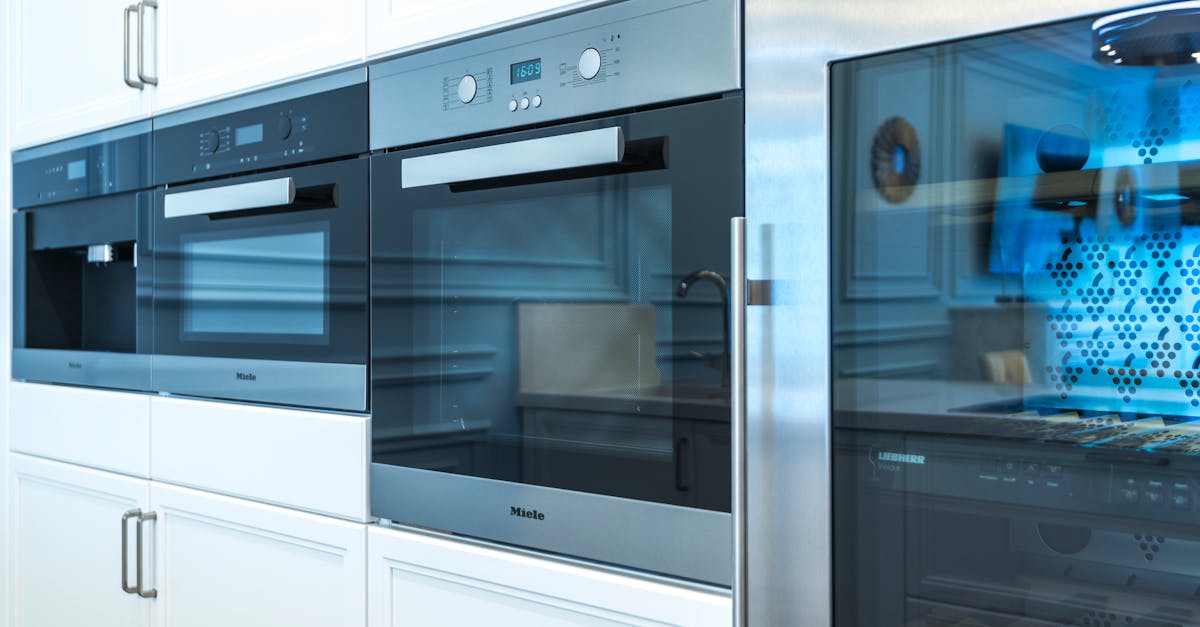
Why Most Beginners Fail at Mastering Their New Microwave (And What Actually Works for Real Efficiency)
You just got a new microwave, probably sleek, full of buttons, maybe even a smart feature or two. You imagine perfectly reheated leftovers, quickly steamed vegetables, and popcorn that’s actually popped, not burnt. But then reality hits. Your ‘quick’ dinner is half-cold, half-soggy. Your coffee boils over, or worse, it’s still lukewarm. You try to defrost something, and it ends up cooked around the edges and frozen solid in the middle. The promise of convenience turns into a daily battle against uneven heating, burnt spots, and disappointing results. You’re left wondering if you bought a dud, or if microwaves are just inherently frustrating. In my experience, it’s rarely the microwave itself; it’s often the approach we take to using it. We fall into common traps, driven by misconceptions and a rush to get things done, that actually sabotage the very efficiency we seek.
Key Takeaways
- Microwave wattage is the fundamental power metric; always adjust cook times or power levels for optimal results based on your unit’s wattage.
- Strategic food placement and stirring are crucial for even heating, as microwaves often create hot and cold spots.
- Understanding when to use high power for speed versus lower power for even cooking is essential for diverse culinary tasks.
- Leveraging your microwave’s pre-programmed settings and dedicated accessories can significantly improve results and convenience.
The Wattage Blind Spot: Why Your Old Habits Don’t Translate
When I first got my high-wattage microwave, I kept burning things. My old 700-watt unit would barely warm leftovers in two minutes, so I instinctively set my new 1200-watt behemoth to the same time. Cue the exploding soup and hardened pasta. This is the number one mistake I see beginners make: ignoring wattage. Most recipes, especially those on packaging, assume an average microwave wattage, often around 900-1000 watts. If your microwave is significantly higher or lower, those recommended times are going to be wildly inaccurate, leading to undercooked or overcooked food.
What changed everything for me was realizing that wattage isn’t just a number on the box; it’s the core determinant of cooking speed. A 1200-watt microwave will heat food roughly 20-30% faster than a 900-watt one. A 700-watt unit will take considerably longer. Instead of blindly following package directions, I now employ a simple mental adjustment. If a recipe says “cook for 2 minutes in a 1000-watt microwave,” and I have a 1200-watt unit, I start with 1 minute 30 seconds and check. If I have an 800-watt unit, I might start with 2 minutes 30 seconds. This isn’t an exact science, but it provides a much better starting point than simply transferring old habits. The goal is to avoid those initial dramatic failures and learn to “feel” your microwave’s power, which only comes from conscious adjustment and observation. It’s better to slightly undercook and add more time than to incinerate and start over.
The ‘Center It and Forget It’ Fallacy: Hot Spots Are Real
We all do it: plonk a plate in the center of the turntable, hit start, and walk away. Then we retrieve a meal that’s molten on one side and still cold on the other. This isn’t a defect; it’s how microwaves work. Microwaves don’t heat uniformly. They create electromagnetic waves that cause water molecules in food to vibrate, generating heat. However, these waves can interfere with each other, creating areas of intense energy (hot spots) and areas with little to no energy (cold spots). The turntable helps by rotating the food through these uneven fields, but it’s often not enough, especially for larger or denser items.
The mistake I see most often is neglecting to intervene. What actually works is adopting a more active heating strategy. For almost anything denser than a single slice of bread, you need to do more than just spin. I now make it a rule to stir or rearrange food halfway through the cooking process. For a bowl of soup, a quick stir redistributes the hottest parts and exposes colder sections to the microwaves. For a plate of leftovers, I’ll move the denser items (like a piece of chicken) to the outside edge of the plate and spread out lighter items (like vegetables). If you’re heating multiple items on one plate, arrange them in a donut shape, leaving the center empty, as the edges of the plate tend to receive more consistent energy. This simple habit drastically reduces frustrating cold spots and overcooked edges, ensuring a much more satisfying result.
The Single Power Setting Trap: Beyond ‘High’ for Everything
For many, the microwave has two settings: ON (which means HIGH) and OFF. We blast everything at 100% power, whether we’re reheating a delicate pastry or defrosting a block of meat. This leads to common microwave woes: rubbery reheated bread, burst tomato sauce, and that infamous “cooked-on-the-outside, frozen-on-the-inside” defrosting dilemma. We overlook the nuanced control our microwave actually offers.
What changed everything for me was understanding the power level hierarchy. High (100%) is for boiling water, quickly steaming vegetables, or rapidly heating liquids. Medium-High (70-80%) is ideal for general reheating, especially for dishes with mixed textures, as it allows for slightly more even heat distribution without overcooking delicate components. Medium (50%) is your secret weapon for more delicate tasks: gently cooking eggs, melting butter or chocolate without scorching, simmering sauces, or truly defrosting items without cooking the edges. Low (20-30%) is perfect for softening ice cream or keeping food warm without continuing to cook it. By actively using these different power levels, I gained immense control over my microwave’s output. Defrosting a pound of ground beef now takes longer, perhaps 8-10 minutes on 50% power with a few flips, but it comes out evenly thawed, not gray around the edges.
Ignoring the Manual: Unlocking Hidden Features and Accessories
Let’s be honest, who reads the microwave manual? We plug it in, hit start, and figure it out. But this means we’re often leaving a wealth of convenience and efficiency on the table. Modern microwaves come with an array of pre-programmed settings and often benefit from specific accessories that can transform your cooking experience.
The mistake I see most often is treating every microwave as a generic box. What actually works is exploring your microwave’s capabilities. Many units have dedicated buttons for things like “Popcorn,” “Baked Potato,” “Dinner Plate,” or “Defrost by Weight.” These aren’t just arbitrary buttons; they often use pre-calibrated power levels and timings tailored for those specific foods. My current microwave has a sensor cook feature that detects steam emitted from food and automatically adjusts cooking time. This dramatically improved my success with things like fresh vegetables or even reheating denser meals.
Beyond built-in features, smart accessories make a huge difference. A simple microwave-safe lid or a damp paper towel can prevent splatters and help retain moisture, leading to juicier, more evenly heated food. A microwave-safe steaming basket can transform frozen vegetables into perfectly tender sides in minutes. For reheating pizza, I swear by a piece of parchment paper under the slice – it absorbs excess moisture and helps the crust crisp up. Investing in these small additions, and taking a few minutes to understand what those mysterious buttons on your panel do, can elevate your microwave from a simple reheating box to a truly efficient kitchen tool.
The Material Misconception: Not All Containers Are Created Equal
We grab any plate or bowl from the cabinet and shove it into the microwave. Sometimes it works, sometimes it doesn’t. You might notice certain dishes getting scorching hot while the food remains cold, or sparking in the microwave. This isn’t magic; it’s about the materials you’re using.
The mistake I see most often is assuming “microwave safe” is universal. What actually works is being mindful of container materials. Glass, ceramic, and microwave-safe plastics are generally good. However, some ceramics with metallic glazes, or even certain types of plastic, can react negatively. Metals, of course, are a strict no-go, leading to dangerous arcing. Even certain paper products (like brown paper bags or some paper towels) can contain small metal flecks or dry out and ignite. The biggest culprit for uneven heating, however, is often the container itself absorbing too much of the microwave energy, leaving less for the food.
To maximize efficiency, I prioritize thinner, non-porous containers made explicitly for microwave use. My go-to is often a thin-walled glass bowl or a specific brand of microwave-safe plastic container known for minimal heat absorption. When in doubt, a quick test is to place the empty dish in the microwave with a cup of water (to absorb the microwaves) and heat on high for 30 seconds. If the dish is cool and the water is hot, it’s good. If the dish is hot, it’s absorbing too much energy and isn’t ideal for efficient food heating. This simple awareness ensures more of the microwave’s power goes directly into your food, not your dishware.
The ‘Set It and Forget It’ Temperature Trap: The Illusion of Immediate Ready-to-Eat Heat
Many of us punch in a time, wait for the beep, and then immediately expect perfectly hot food. When it’s not, we add more time, often leading to uneven heating and frustration. This approach overlooks the science behind how heat transfers in food.
The mistake I see most often is failing to account for carryover cooking and heat equalization. When food comes out of the microwave, the external parts and hot spots are at a much higher temperature than the internal cold spots. For the overall temperature to equalize and distribute throughout the food, it needs a moment to rest. What actually works is building in a brief resting period after microwaving. For a bowl of soup, a quick stir after the timer goes off, followed by a 1-minute rest, allows the heat to spread more evenly. For a denser dish like lasagna, a 2-3 minute rest can make the difference between a cold center and a uniformly warm, enjoyable meal. This brief pause, perhaps while you’re getting your drink or setting the table, dramatically improves the final eating experience. It’s not about making the microwave take longer; it’s about making the food better within the same overall meal preparation time.
Frequently Asked Questions
Q: Why does my food sometimes spark in the microwave?
A: Sparking, or arcing, usually indicates that metal is present. This could be obvious metal (like foil or cutlery), metallic glazes on ceramic dishes, or even hidden metal components in certain paper products or twist ties. It can also happen with certain foods high in minerals or irregular shapes, like grapes (plasma effect) or hot peppers. Always ensure your dishes and food are metal-free and microwave-safe.
Q: My popcorn button always burns the popcorn. What’s wrong?
A: The popcorn button is often pre-programmed for a standard bag size (e.g., 3.5 oz) and a specific microwave wattage. If your microwave is higher wattage, or your bag is smaller, the pre-set time will likely be too long. What actually works is to ignore the button and use the manual setting, listening carefully for the pops. Stop the microwave when the popping slows to 2-3 seconds between pops. Also, ensure your bag isn’t past its expiration date, as older kernels pop less efficiently.
Q: How can I tell if a plastic container is truly microwave-safe?
A: Look for a microwave-safe symbol, usually a microwave with wavy lines, or a number 5 (PP) in a recycling triangle, which often indicates polypropylene plastic that is generally microwave-safe. If there’s no symbol, or you’re unsure, it’s safer to transfer food to a glass or ceramic dish. Avoid heating food in single-use plastic containers like yogurt cups or takeout containers, as they may not be designed for repeated heating and could leach chemicals.
Q: Why does my liquid sometimes boil over or explode in the microwave?
A: This is called “superheating.” Microwaves heat water rapidly and can cause it to reach its boiling point without actually bubbling. When disturbed (by moving the cup or adding something to it), it can violently erupt. What actually works is to never heat liquids for too long. If you’re reheating water for tea, heat it in shorter bursts and stir it once or twice. When taking out liquids, gently tap the side of the mug or let it sit for a minute before adding anything. You can also place a non-metallic spoon in the liquid to provide a nucleation point for bubbles to form safely.
Q: How do I clean stubborn, burnt-on food in my microwave?
A: Fill a microwave-safe bowl with 1 cup of water and 1-2 tablespoons of white vinegar, and optionally a few lemon slices or drops of lemon juice for a fresh scent. Microwave on high for 5-7 minutes, or until the mixture is boiling and the window is steamy. Let it sit in the microwave for another 5 minutes without opening the door, allowing the steam to loosen grime. Carefully remove the hot bowl, and then wipe down the interior with a damp cloth or sponge. For really tough spots, a paste of baking soda and water can help. Don’t use abrasive cleaners or harsh chemicals.
Mastering your microwave isn’t about deciphering ancient texts or having a culinary degree; it’s about moving beyond assumptions and adopting a few smart, intentional habits. By understanding your unit’s wattage, actively engaging with the heating process through stirring and strategic placement, leveraging power levels, exploring built-in features, and using appropriate containers, you can transform your microwave from a source of frustration into the efficient, reliable kitchen ally it was meant to be. Take these practical tips into your kitchen today, and start enjoying perfectly heated meals with less fuss and more confidence.
Written by Clara Jenkins
Health & Wellness, Home Life, Hobbies & Recreation
With a background in lifestyle journalism, Clara focuses on health, wellness, and everyday living.
You Might Also Like

Why Most Beginners Fail at Mastering Their New E-Reader (And What Actually Works for Real Reading Bliss)
Unlock true reading bliss with your e-reader. Discover why beginners often miss its full potential and what really works.

Why Most Beginners Fail at Mastering Their New Router (And What Actually Works for Reliable Speed)
Struggling with slow, unreliable Wi-Fi? Learn why common router setup mistakes fail most people and my layered approach for consistent speed.
Why Most Beginners Fail at Mastering Their New Smartwatch (And The Layered Approach That Actually Works)
Unlock your smartwatch's true potential. Discover why typical setups fall short & how a layered approach delivers real health & productivity benefits.